
No products in the cart.
Return To Shop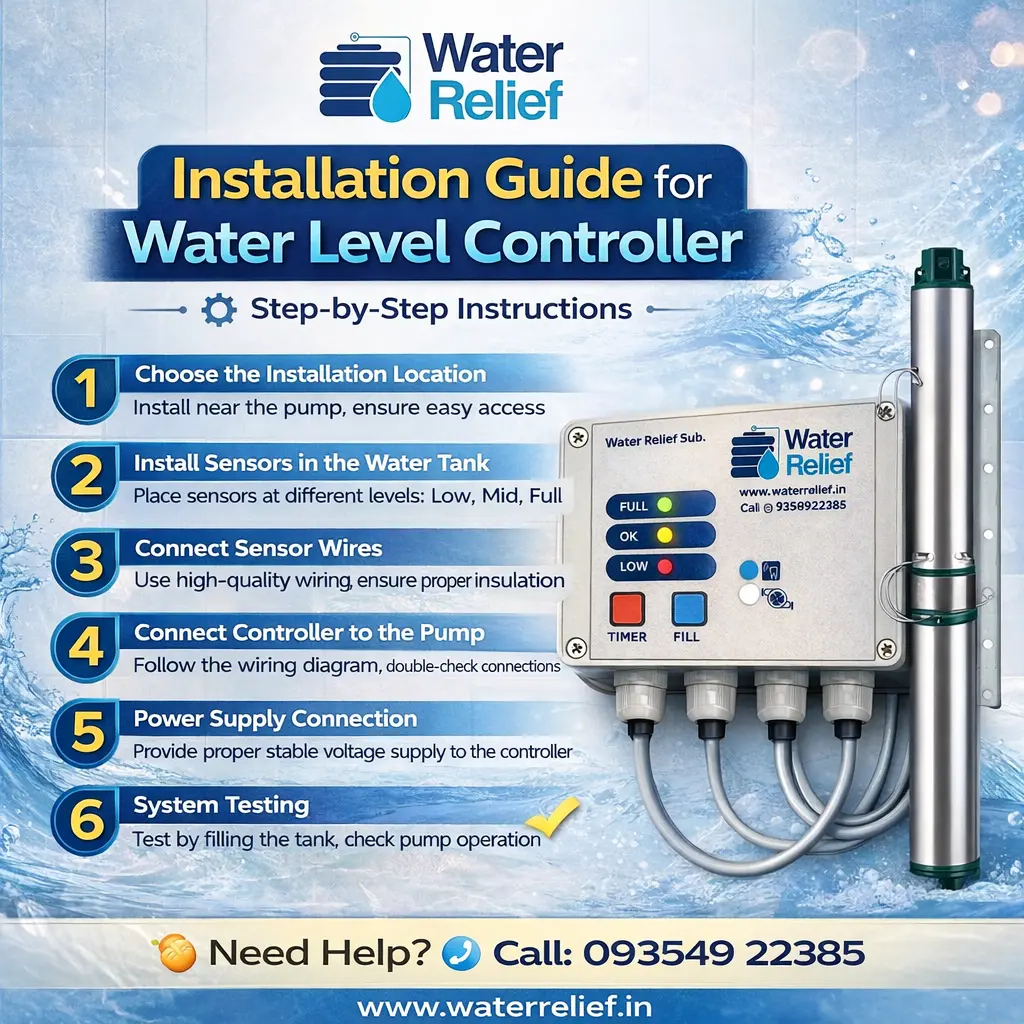
Installing a water level controller is one of the smartest decisions you can make for efficient water management. Whether it’s a home, office, apartment, or industrial setup, a properly installed system ensures smooth water flow, prevents overflow, and protects your pump from damage.
In this guide, we will walk you through the installation process for a water level controller step by step. Water Relief offers easy-to-install systems designed for Indian conditions, making the process simple and reliable.
Why Proper Installation Is Important
A water level controller works effectively only when installed correctly.
Benefits of Proper Installation:
- accurate water level detection
- smooth pump operation
- prevention of overflow
- protection from dry run
- long-term durability
Incorrect installation can lead to system failure or inaccurate readings.
Components Required for Installation
Before starting, ensure you have all necessary components.
Main Components:
- water level controller unit
- sensor wires/probes
- connecting cables
- power supply
- water pump connection
Water Relief provides a complete setup with all essential components.
Step-by-Step Installation Guide
Follow these steps carefully for proper installation.
Step 1: Choose the Installation Location
Select a suitable location for the controller unit.
Tips:
- install near the pump
- keep it away from water exposure
- ensure easy access for maintenance
Step 2: Install Sensors in the Water Tank
Sensors play a crucial role in detecting water levels.
How to Install:
- place sensors at different levels (low, mid, full)
- ensure sensors are securely fixed
- maintain proper spacing between sensors
These sensors will send signals to control pump operation.
Step 3: Connect Sensor Wires
Connect the sensor wires from the tank to the controller unit.
Important Points:
- use high-quality wiring
- ensure proper insulation
- avoid loose connections
This ensures accurate signal transmission.
Step 4: Connect the Controller to the Pump
Now connect the controller to the water pump.
Steps:
- connect output wires from controller to pump switch
- ensure correct wiring as per manual
- double-check connections before powering ON
Step 5: Power Supply Connection
Provide power to the controller unit.
Tips:
- use proper voltage supply
- ensure stable electricity connection
- avoid voltage fluctuations
Step 6: System Testing
After installation, test the system.
Testing Process:
- fill tank partially and observe pump operation
- check if pump starts at low level
- check if pump stops at full level
Water Relief systems are designed for accurate and reliable performance.
Safety Tips During Installation
Always follow safety precautions:
- switch OFF power before installation
- use insulated tools
- avoid water contact with electrical parts
- follow wiring instructions carefully
Safety ensures long-term performance.
Common Installation Mistakes to Avoid
Avoid these common errors:
❌ Incorrect Sensor Placement
Leads to inaccurate readings.
❌ Loose Wiring
Causes system malfunction.
❌ Wrong Pump Connection
May damage the system.
❌ Ignoring Testing
Always test after installation.
Why Choose Water Relief for Easy Installation
Water Relief provides user-friendly systems that are easy to install.
Key Advantages:
- simple wiring setup
- clear indicators
- durable components
- minimal maintenance
This makes it suitable for both professionals and beginners.
Benefits After Installation
Once installed, the system provides multiple benefits:
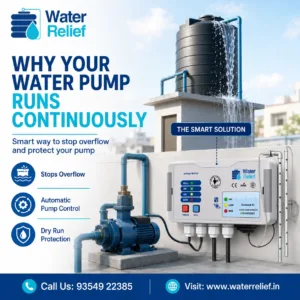
1. Automatic Pump Operation
No need to manually switch ON/OFF.
2. Overflow Prevention
Stops water wastage.
3. Dry Run Protection
Prevents pump damage.
4. Energy Saving
Optimizes electricity usage.
5. Convenience
Reduces manual effort.
Where Can You Install Water Relief Controllers?
Water Relief systems are suitable for:
- homes
- apartments
- offices
- hotels
- hospitals
- factories
They support:
- overhead tanks
- underground tanks
- borewell systems
- municipal supply
Maintenance Tips After Installation
To ensure long-term performance:
- clean sensors periodically
- check wiring connections
- inspect controller unit
- avoid dust and moisture exposure
Regular maintenance improves system life.
How Water Relief Simplifies Water Management
Water Relief transforms traditional water systems into smart automated systems.
Key Benefits:
- efficient water usage
- reduced electricity bills
- extended pump life
- reliable performance
Long-Term Advantages
Installing a water level controller provides:
- long-term cost savings
- improved efficiency
- reduced maintenance
- better water management
Final Thoughts
A proper installation guide for water level controller ensures that your system works efficiently and reliably.
Incorrect installation can reduce performance and cause issues.
Water Relief offers easy-to-install, durable, and efficient solutions that simplify water management.
If you want a hassle-free water system with long-term benefits, Water Relief is the perfect choice.
About author
Related posts

Automatic Water Controller for Temples is a useful solution for temples, gurudwaras, mosques, churches, ashrams and other religious places. These places need water every day.... Continue reading
If your Water Pump Runs Continuously, you should not ignore it. A pump that keeps running can waste water, increase electricity bills and damage the... Continue reading
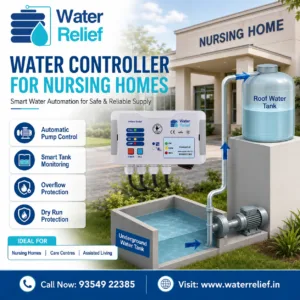
Water Controller for Nursing Homes is an important solution for healthcare spaces that need a steady water supply every day. Nursing homes use water for... Continue reading
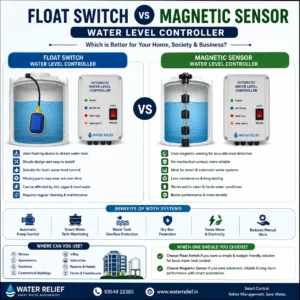
Float Switch vs Magnetic Sensor is an important comparison for anyone planning to install a water level controller. Homes, societies, apartments, offices and commercial buildings... Continue reading
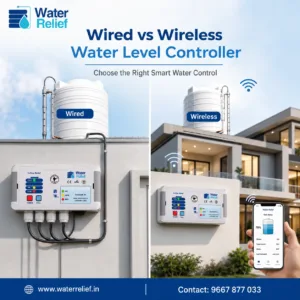
Wired vs Wireless Water Level Controller is an important topic for homes, apartments, societies and commercial buildings. Every property needs proper water control. If the... Continue reading
Add comment