
No products in the cart.
Return To Shop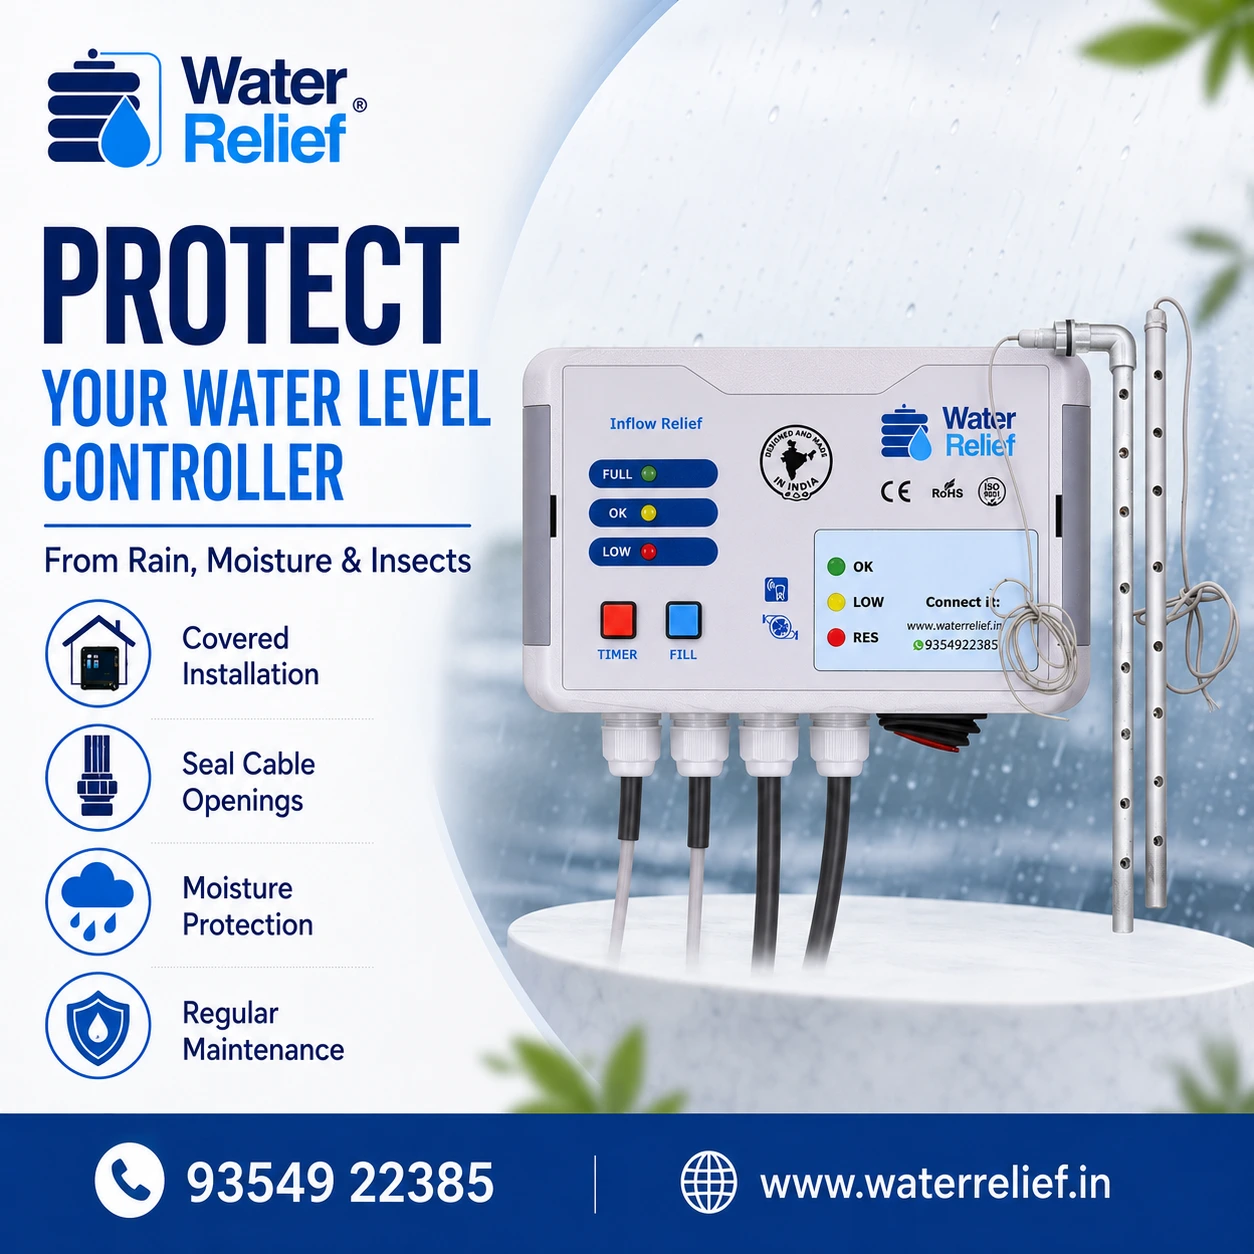
To protect water level controller from rain moisture and insects, the controller should be installed in a dry, covered and properly ventilated location. Direct rain, water leakage, high humidity and insects can damage electronic parts and may reduce the working life of the system.
An Automatic water level controller is connected to water-level sensors, electrical wiring and the pump-control system. Therefore, protecting the controller panel is just as important as choosing the right model.
With proper installation and regular water level controller maintenance, homeowners and facility teams can reduce avoidable faults and keep the system working reliably.
Why Water Level Controllers Need Protection
A water level controller contains electronic components that control pump operation.
Although the sensors may be designed to work around water, the main controller unit should not normally be exposed to uncontrolled rain or water entry.
Common causes of controller damage include:
- Direct rainfall
- Roof or pipe leakage
- High humidity
- Water splashes
- Condensation
- Loose cable openings
- Ants and other insects
- Dust and dirt
- Damaged wiring
- Poor installation
Therefore, proper protection should be planned before the controller is installed.
What Can Happen If Rain Enters the Controller?
Rainwater can enter the controller through gaps around the cover, cable entries or badly sealed wiring points.
Once moisture reaches the electronic parts, it may cause:
- Short circuits
- Corrosion
- False tank-level signals
- Pump not starting
- Pump not stopping
- Indicator failure
- Relay damage
- MCB tripping
- Complete controller failure
As a result, even a small water-entry problem should not be ignored.
Best Place to Install a Water Level Controller
Correct placement is the first step in Outdoor water level controller protection.
Whenever possible, install the controller:
- Under a covered roof
- Inside a pump room
- On a dry wall
- Away from direct sunlight and rain
- Away from leaking pipes
- Above floor level
- Away from areas that collect water
In addition, there should be enough space around the controller for safe inspection and maintenance.
Use a Suitable Weather-Protected Enclosure
If the controller must be installed outdoors, an additional weather-resistant enclosure may be needed.
Good Water level controller waterproof protection should help prevent direct water entry while still allowing safe electrical installation.
The enclosure should have:
- Secure cover
- Proper cable glands
- Suitable sealing
- Strong mounting
- Correct enclosure rating for the location
- Enough internal space for wiring
However, do not completely wrap the controller in plastic. Trapped heat and condensation can create another problem.
Do Not Install the Controller Directly Under a Water Tank
Installing the controller directly below a rooftop tank may look convenient. However, this position can expose it to overflow, pipe leakage and cleaning water.
Instead, place the controller on a nearby protected wall.
This small change can greatly reduce the chance of direct water exposure.
Protect Cable Entry Points
Water often enters through cable openings rather than through the front cover.
Therefore, cable entry points should be properly sealed.
A good installation should use:
- Suitable cable glands
- Correctly sized openings
- Tight connections
- Proper routing
- Drip loops where needed
Cables should not guide rainwater directly into the controller box.
Use a Drip Loop in Outdoor Wiring
A drip loop is a simple way to reduce water movement along a cable.
The cable is routed downward before it enters the controller. As a result, rainwater tends to drip from the lowest point instead of following the wire into the enclosure.
This can improve Outdoor water level controller protection, especially on terraces and exposed walls.
How Moisture Can Damage a Controller
Rain is not the only problem.
High humidity and condensation can also affect electronics over time.
Moisture may develop because of:
- Poor ventilation
- Temperature changes
- Damp walls
- Closed pump rooms
- Nearby water leakage
- Controller installed near wet pipelines
Over time, moisture may cause corrosion on terminals and circuit boards.
Therefore, the installation area should remain as dry as possible.
How to Reduce Moisture Around the Controller
To reduce moisture exposure:
- Repair nearby water leakage
- Keep the controller away from damp walls
- Maintain proper ventilation
- Avoid direct contact with wet surfaces
- Check cable glands regularly
- Keep the enclosure properly closed
In addition, inspect the inside of the panel if there are signs of condensation or corrosion.
Protecting a Water Level Controller from Insects
Small insects can enter electronic boxes through cable openings and other gaps.
Common problems may come from:
- Ants
- Small beetles
- Spiders
- Cockroaches
- Other crawling insects
They may create nests, carry dirt or interfere with electrical contacts.
Therefore, insect protection should be part of routine maintenance.
Seal Unused Openings
Unused holes in the controller enclosure should not remain open.
They can allow insects, dust and moisture to enter.
Instead, unused cable entries should be closed with suitable plugs or seals.
This is a simple but effective protection step.
Keep the Installation Area Clean
Dust, cobwebs and insects are more likely to collect around poorly maintained pump rooms.
Therefore, keep the area around the controller clean.
Regular cleaning should include:
- Removing cobwebs
- Cleaning nearby walls
- Removing dust
- Checking for ant trails
- Keeping waste away from the panel
However, never spray water or liquid cleaner directly onto the controller.
Avoid Spraying Insecticide Inside the Controller
Do not spray household insecticide directly inside an electrical control panel.
Liquid chemicals may damage electronic parts or leave conductive residue.
Instead, keep the surrounding area clean and use suitable external pest-control methods when needed.
If insects are already inside the controller, switch off power and have the unit inspected by a qualified technician.
Importance of Water Level Controller Maintenance
Regular Water level controller maintenance can identify small problems before they cause complete failure.
A basic maintenance check should include:
- Controller enclosure condition
- Loose cover
- Cable glands
- Sensor wiring
- Pump wiring
- Signs of moisture
- Corrosion
- Insects
- Burn marks
- Loose terminals
- Status indicators
The controller should also be tested in both low-level and full-level conditions.
Check Sensor Wires Regularly
Sensor wires may run from the tank to the controller over long distances.
Outdoor cables can be affected by:
- Sunlight
- Rain
- Rodents
- Sharp edges
- Loose joints
- Construction work
Damaged sensor wires can give incorrect water-level signals.
Therefore, inspect exposed wiring during maintenance.
Protect Wiring from Rodents and Physical Damage
Where required, wiring can be routed through a suitable conduit.
This helps protect cables from:
- Rodents
- Accidental cuts
- Weather exposure
- Sharp surfaces
- Loose hanging
Neat wiring also makes future maintenance easier.
Check the Controller After Heavy Rain
After heavy rainfall, inspect outdoor installations for signs of water entry.
Check for:
- Water drops inside the enclosure
- Wet wiring
- Damp walls
- Loose seals
- Rust or corrosion
- Incorrect indicator lights
If moisture is found inside the panel, switch off the power and arrange professional inspection before normal use.
Protect the Controller During Tank Cleaning
Water tanks are often cleaned using hoses and large amounts of water.
If the controller is installed near the tank, it may accidentally get wet.
Therefore, protect the controller before cleaning begins. In addition, workers should be told not to spray water toward the electrical panel.
Keep the Controller Away from Direct Sunlight
Outdoor protection is not only about rain.
Strong direct sunlight can also heat the enclosure.
High temperature may affect electronic components over time. Therefore, a shaded installation point is usually better.
A covered location protects the controller from both rain and direct sun.
Water Level Controller Waterproof Protection vs Complete Waterproofing
It is important to understand the difference between weather protection and complete waterproofing.
An electronic controller should not be assumed to be fully waterproof unless the manufacturer specifically provides an appropriate enclosure rating.
Therefore, even with Water level controller waterproof protection, good installation practices remain necessary.
A protective enclosure, correct sealing and covered placement work together to reduce risk.
Warning Signs That the Controller Needs Inspection
Arrange an inspection if you notice:
- Pump starting unexpectedly
- Pump not stopping
- Incorrect tank indication
- Repeated tripping
- Burnt smell
- Moisture inside the panel
- Corroded terminals
- Insects inside the enclosure
- Loose sensor wires
- Controller becoming unusually hot
Early inspection can help prevent larger electrical or pump-control problems.
Safety Tips Before Maintenance
An Automatic water level controller is connected to an electrical system. Therefore, safety should come first.
Before opening or inspecting the controller:
- Switch off the electrical supply
- Avoid working with wet hands
- Do not touch damaged wiring
- Use a qualified technician for electrical repairs
- Do not bypass safety components
- Do not modify the circuit without proper guidance
If the controller has been flooded or heavily exposed to water, do not power it on until it has been professionally inspected.
Simple Maintenance Checklist
For better controller protection, follow these basic steps:
- Keep the controller under cover.
- Check the enclosure for cracks or gaps.
- Seal unused cable entries.
- Inspect cable glands.
- Check for moisture or corrosion.
- Remove dust and cobwebs around the panel.
- Look for ants or other insects.
- Inspect sensor wires.
- Test automatic pump start and stop.
- Arrange professional service if anything looks damaged.
Why Choose Water Relief?
Water Relief provides automatic tank and pump-control solutions for different residential and commercial water-management applications.
A properly installed controller can help automate pump operation and reduce manual tank monitoring. However, the unit should always be protected from unnecessary rain, moisture, insects and electrical damage.
Correct installation and routine maintenance are important for reliable long-term operation.
Conclusion
To protect water level controller from rain moisture and insects, start with correct installation. Keep the controller under cover, protect cable entries, reduce moisture, seal unused openings and inspect the system regularly.
Good Water level controller waterproof protection does not depend on one method alone. Proper enclosure, wiring, placement and maintenance all work together.
Finally, regular Water level controller maintenance can help identify moisture, insects, damaged cables and loose connections before they cause major problems.
FAQs
1. Can a water level controller be installed outdoors?
Yes, but it should have suitable outdoor protection and should not be left directly exposed to rain, water splashes or harsh weather.
2. How can I protect a water level controller from rain?
Install it under a covered area, use a suitable weather-resistant enclosure, seal cable entries and keep it away from leaking pipes or overflowing tanks.
3. Can moisture damage an automatic water level controller?
Yes. Moisture can cause corrosion, short circuits, false signals and damage to electronic components.
4. How can I stop insects from entering the controller?
Seal unused holes, use proper cable glands and keep the installation area clean. Avoid spraying liquid insecticide inside the electrical panel.
5. Should I cover the controller with a plastic bag?
No. A plastic bag can trap heat and moisture. A properly designed enclosure is a better option.
6. How often should a water level controller be inspected?
Regular inspection is recommended, especially before and after the rainy season or whenever there are signs of moisture, insects or incorrect pump operation.
About author

Related posts
A Water automation system for food processing units helps manage storage tanks and pumps without constant manual checking. It monitors water levels, starts the pump... Continue reading
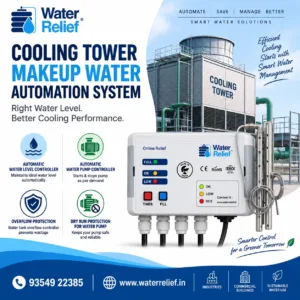
A Cooling tower makeup water automation system helps maintain the required water level in cooling tower tanks without constant manual checking. It monitors the water... Continue reading
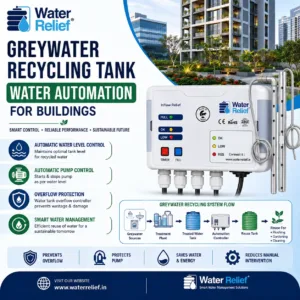
Greywater recycling tank water automation for buildings helps manage recycled water storage and pump operation without constant manual checking. It monitors tank levels, starts the... Continue reading
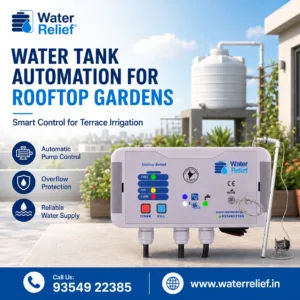
Water tank automation for rooftop gardens helps maintain a reliable water supply for plants without constant manual checking. It monitors the tank level, starts the... Continue reading
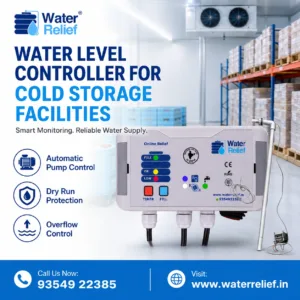
Water level controller monitoring for cold storage facilities helps manage storage tanks and water pumps without constant manual checking. The system monitors tank levels, starts... Continue reading

Add comment