
No products in the cart.
Return To Shop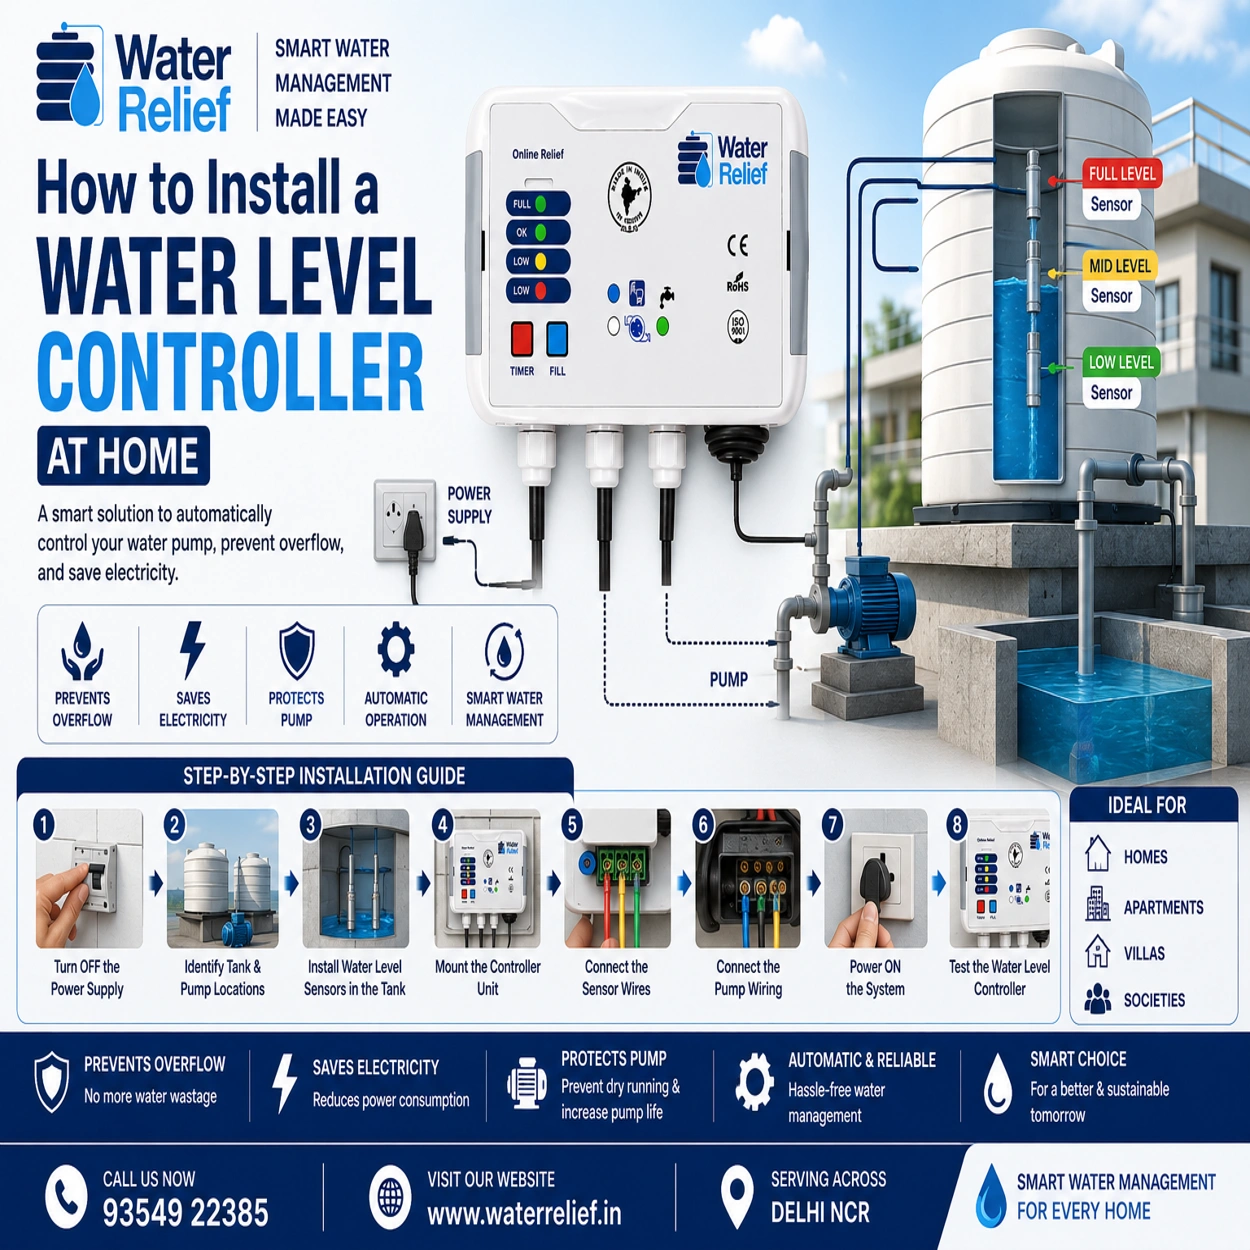
Managing water tanks manually can often lead to problems like tank overflow, dry running of pumps, electricity wastage, and unnecessary water loss. This is why many homeowners are now switching to automatic water level controllers for smarter and more efficient water management.
A water level controller automatically manages the water pump based on tank water levels, ensuring your overhead tank neither overflows nor runs empty.
At Water Relief, we provide advanced smart water management solutions designed to make water control simple, efficient, and reliable for homes, apartments, and commercial buildings.
In this guide, we’ll explain how to install a water level controller at home step-by-step.
What is a Water Level Controller?
A water level controller is an automatic device that monitors water levels inside tanks and controls the pump operation accordingly.
It automatically:
- Turns the pump ON when the water level is low
- Turns the pump OFF when the tank becomes full
- Prevents overflow
- Protects pumps from dry running
These systems help save water, electricity, and maintenance costs.
Benefits of Installing a Water Level Controller
Installing a water level controller offers several advantages for homeowners.
Prevents Water Overflow
Stops unnecessary water wastage from overflowing tanks.
Saves Electricity
Automatically switches off the pump when the tank is full.
Protects Water Pumps
Prevents dry running and motor damage.
Reduces Manual Effort
No need to monitor tanks manually every day.
Improves Water Management
Ensures a consistent water supply for daily household use.
Tools & Materials Required
Before starting installation, keep the following items ready:
- Water level controller unit
- Water level sensors/probes
- Electrical wires
- Screwdriver set
- Insulation tape
- PVC pipe clamps
- Drill machine (if required)
- Voltage tester
- Safety gloves
Step-by-Step Guide to Install a Water Level Controller at Home
Step 1: Turn Off the Power Supply
Safety should always come first.
Before installation:
- Switch OFF the main power supply
- Disconnect the water pump power connection
- Use a voltage tester to ensure no live current is present
Step 2: Identify Tank & Pump Locations
Locate:
- Overhead water tank
- Underground water tank (if available)
- Water pump
- Main electrical connection
Proper positioning helps ensure accurate sensor installation and smooth operation.
Step 3: Install Water Level Sensors in the Tank
Water level sensors detect water levels inside the tank.
Typically, sensors are installed at:
- Low water level
- Medium water level
- Full tank level
Fix the sensors securely inside the overhead tank using clamps or holders.
Make sure:
- Sensors are not touching each other
- Wiring remains insulated
- Sensors are positioned correctly for accurate readings
Step 4: Mount the Controller Unit
Install the controller unit near:
- The pump
- Electrical panel
- A dry and protected area
Avoid placing the controller in direct sunlight or areas exposed to rainwater.
At Water Relief, our controllers are designed for safe and reliable installation in residential environments.
Step 5: Connect the Sensor Wires
Carefully connect sensor wires to the controller terminals according to the manufacturer’s wiring diagram.
Usually:
- Common wire connects to the base terminal
- Other wires connect to LOW, MID, and FULL indicators
Ensure:
- Tight connections
- Proper insulation
- No loose wiring
Step 6: Connect the Pump Wiring
Now connect the water pump wiring to the controller.
The controller acts as an automatic switch between the power supply and pump motor.
Double-check:
- Voltage compatibility
- Wiring polarity
- Pump load capacity
If you are unsure about electrical wiring, it’s best to consult a professional electrician.
Step 7: Power ON the System
After completing all connections:
- Switch ON the main power supply
- Turn ON the controller
- Check display indicators and sensor readings
The controller should now detect water levels automatically.
Step 8: Test the Water Level Controller
Testing is important to ensure proper functioning.
Check whether:
- The pump starts automatically when the tank level is low
- The pump stops when the tank is full
- Overflow prevention works correctly
- Dry run protection activates properly
Monitor the system for a complete pump cycle.
Common Installation Mistakes to Avoid
Incorrect Sensor Placement
Wrong sensor positioning can cause inaccurate water readings.
Loose Wiring Connections
Loose wires may lead to malfunction or short circuits.
Ignoring Waterproofing
Always protect electrical connections from moisture.
Overloading the Controller
Use a controller compatible with your pump capacity.
Skipping Safety Checks
Never work on electrical systems without disconnecting power.
Why Choose Smart Water Level Controllers?
Modern smart water level controllers offer advanced features like:
- Automatic pump control
- Dry run protection
- Overflow prevention
- Real-time monitoring
- Energy savings
- Longer pump life
These systems are ideal for:
- Homes
- Apartments
- Villas
- Commercial buildings
- Housing societies
Why Choose Water Relief?
Water Relief provides advanced water level controllers and smart water management solutions designed for Indian homes and residential buildings.
Our solutions help customers:
- Save water
- Reduce electricity bills
- Prevent tank overflow
- Protect water pumps
- Improve overall water management efficiency
We focus on reliable, user-friendly, and sustainable water management systems for modern households.
Conclusion
Installing a water level controller at home is one of the smartest ways to automate water management and prevent unnecessary water wastage. With proper installation, homeowners can enjoy automatic pump operation, improved water efficiency, lower electricity usage, and enhanced pump protection.
Whether you live in an independent house, apartment, or villa, a smart water level controller can make daily water management much easier and more efficient.
At Water Relief, we offer reliable and advanced water management solutions to help homes and residential societies manage water smarter and more sustainably.
About author
Related posts
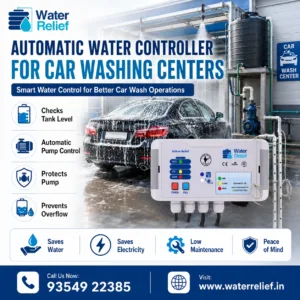
Automatic Water Controller for Car Washing Centers is very useful for modern car wash businesses. A car washing center uses water all day for vehicle... Continue reading
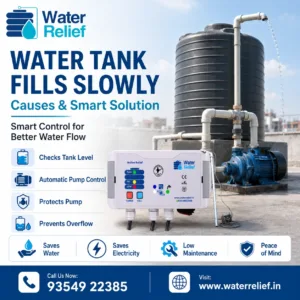
Water Tank Fills Slowly is a common problem in homes, apartments, offices and commercial buildings. When the tank takes too much time to fill, daily... Continue reading
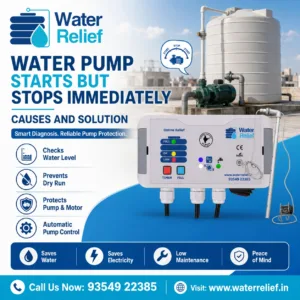
Water Pump Starts But Stops Immediately is a common problem in homes, buildings and commercial spaces. In this situation, the pump turns ON but stops... Continue reading
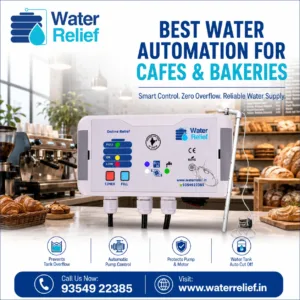
Best Water Automation for Cafes and Bakeries is important for modern food businesses. Cafes and bakeries use water all day for cooking, cleaning, dishwashing and... Continue reading
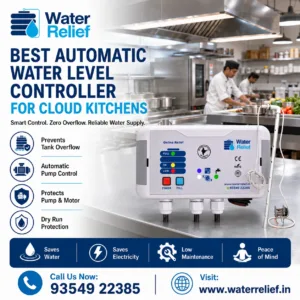
Best Automatic Water Level Controller for Cloud Kitchens is very important for modern food businesses. Cloud kitchens work all day for delivery orders, so water... Continue reading
Add comment